Call
Call nodes connect the panels of a project to another. They allow the diagrams of a project to be broken down into manageable pieces that fit comfortably into a single panel. They also allow a diagram to be used more than once in a project.
A call to a circuit panel is called a circuit node. It is outlined in green like this:
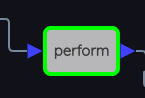
This particular call has an inlet at the left and an outlet at the right. We will sometimes refer to these as West and East ports respectively. A call node shows the name of the panel it calls.
A call to an infrastructure panel is similarly called an infrastructure node. It is outlined in cyan like this:
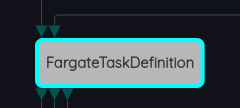
infrastructure calls have ports at the top and bottom, which we will sometimes refer to as North and South ports respectively. As with circuit nodes, the infrastructure panel that is called is shown in the call node.
Consider the OAuthCodeGrantApiWithCustomAuthorizer Solution, which has many call nodes:
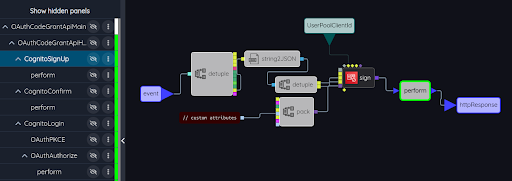
The perform circuit is called from several different circuits in the project. The CognitoSignUp circuit is presently selected, as indicated in the panel browser to the left. perform is shown indented beneath CognitoSignUp, indicating that the latter calls the former. The green-outlined node labeled perform in the diagram is the call from CognitoSignUp to perform:
It has one inbound port and one outbound. These correspond to an inlet and outlet special node in the perform circuit. When a circuit has inlets and outlets, they automatically appear as arrow-shaped ports on calls to that circuit as they do here. To see the inlet and outlet in the circuit itself, we must select perform:
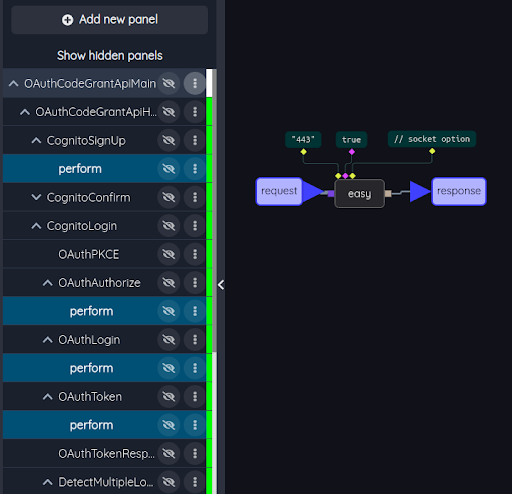
The inlet is labeled request and the outlet is labeled response. perform is highlighted and indented beneath several callers in the panel browser, indicating that it is called not only by CognitoSignUp but also by OAuthAuthorize, OAuthLogin, OAuthToken and so on. There is only one perform circuit in the project but it is used several times, via call nodes.
If you have the example open in the editor, try adding an inlet to perform like this:
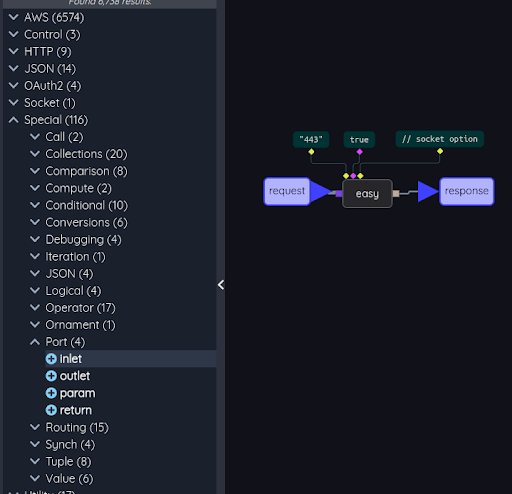
Clicking on inlet adds an inlet special node to the diagram, and dragging the ⊕ into the diagram does the same but allows you to place the node directly where you want it. Initially the inlet has no name. Clicking in the empty name area of the node allows you to assign a name:
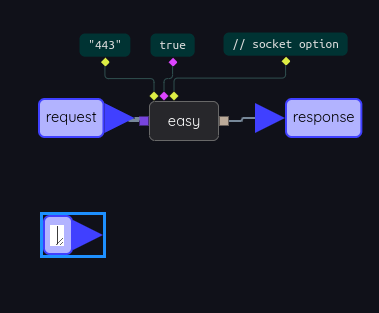
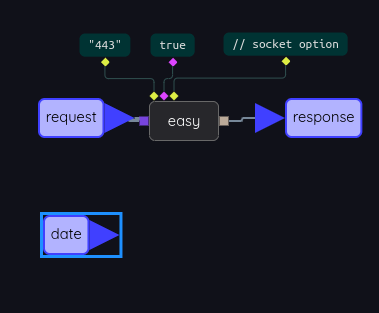
Assign the name date and the diagram will look like this:
Now select the CognitoSignUp panel in the panel browser. The call to perform has a new port:
Hovering over the new port shows its name (date) and type (?, meaning no type associated with the port yet).
In this example, we see inlet and outlet ports, which flow to and from the left (West) and right (East) side of a diagram, respectively. There are two other types of ports: param and return, which flow to and from the top and bottom of a diagram respectively. We will encounter these in later sections. For now, let’s consider the different kinds of diagrams in a Coreograph and the different kinds of call nodes that are used to invoke them.